量産型や地雷系のアクセサリーはこちら♥
“ときめきを届ける”女の子向け情報メディア、『Lafary(ラファリー)』が手掛ける通販サイト『Lafary Shop(ラファリーショップ)』❤︎ 量産型ヲタクさんや地雷系の女の子にぴったりなアクセサリーなどのファッション小物やサンリオキャラクターの雑貨やインテリアを販売しています❤︎
スポンサードリンク
If you’re a fan of magical girls and witches, we’re going to show you how to make the perfect yumekawa witch hat perfect for Halloween or cosplay 💖
This tutorial is super easy, even children can join in the fun💓
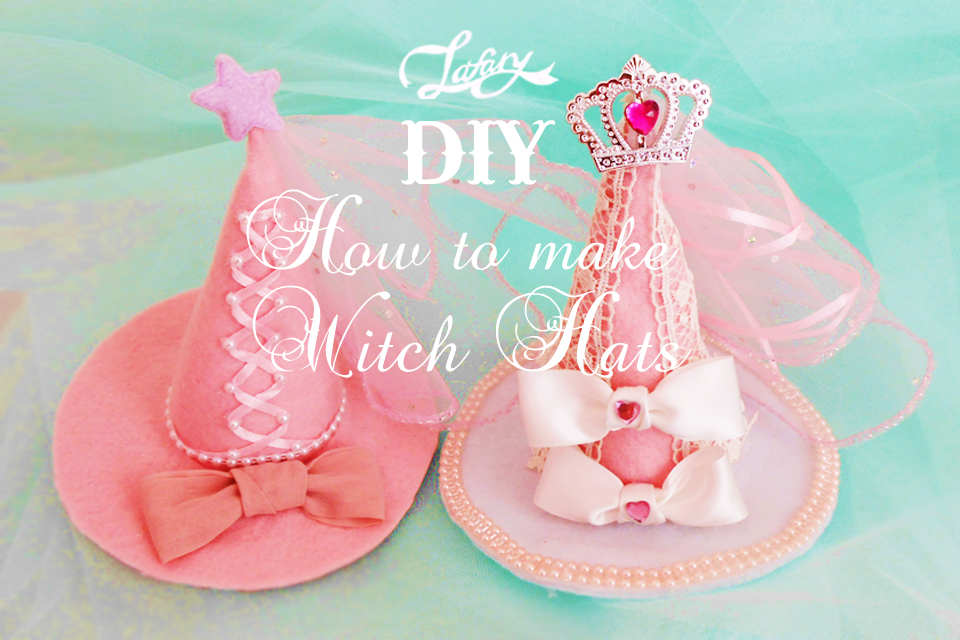

👒Witch Hat DIY👒
🎀You Will Need🎀
💘Felt
💘Tulle
💘Circle drawing tool (Eg: Compass, cup)
💘Scissors, glue gun
💘Cotton
💘Decorations (Ribbon, lace, gems etc)

🎀How To Make🎀
1.💘Draw the shapes
Using a compass or a similar tool, draw a half circle.
Draw one more circle which will be used for the base of the hat. Draw a smaller circle inside this.
(The smaller hole can be increased in size later if necessary)
2.💘Cut the fabric
Cut the semi-circle cone out before cutting it in quarters. With this you can make two hats!
 |
 |
3.💘Stick together with the glue gun
Roll the quarters into cones and seal using the glue gun.
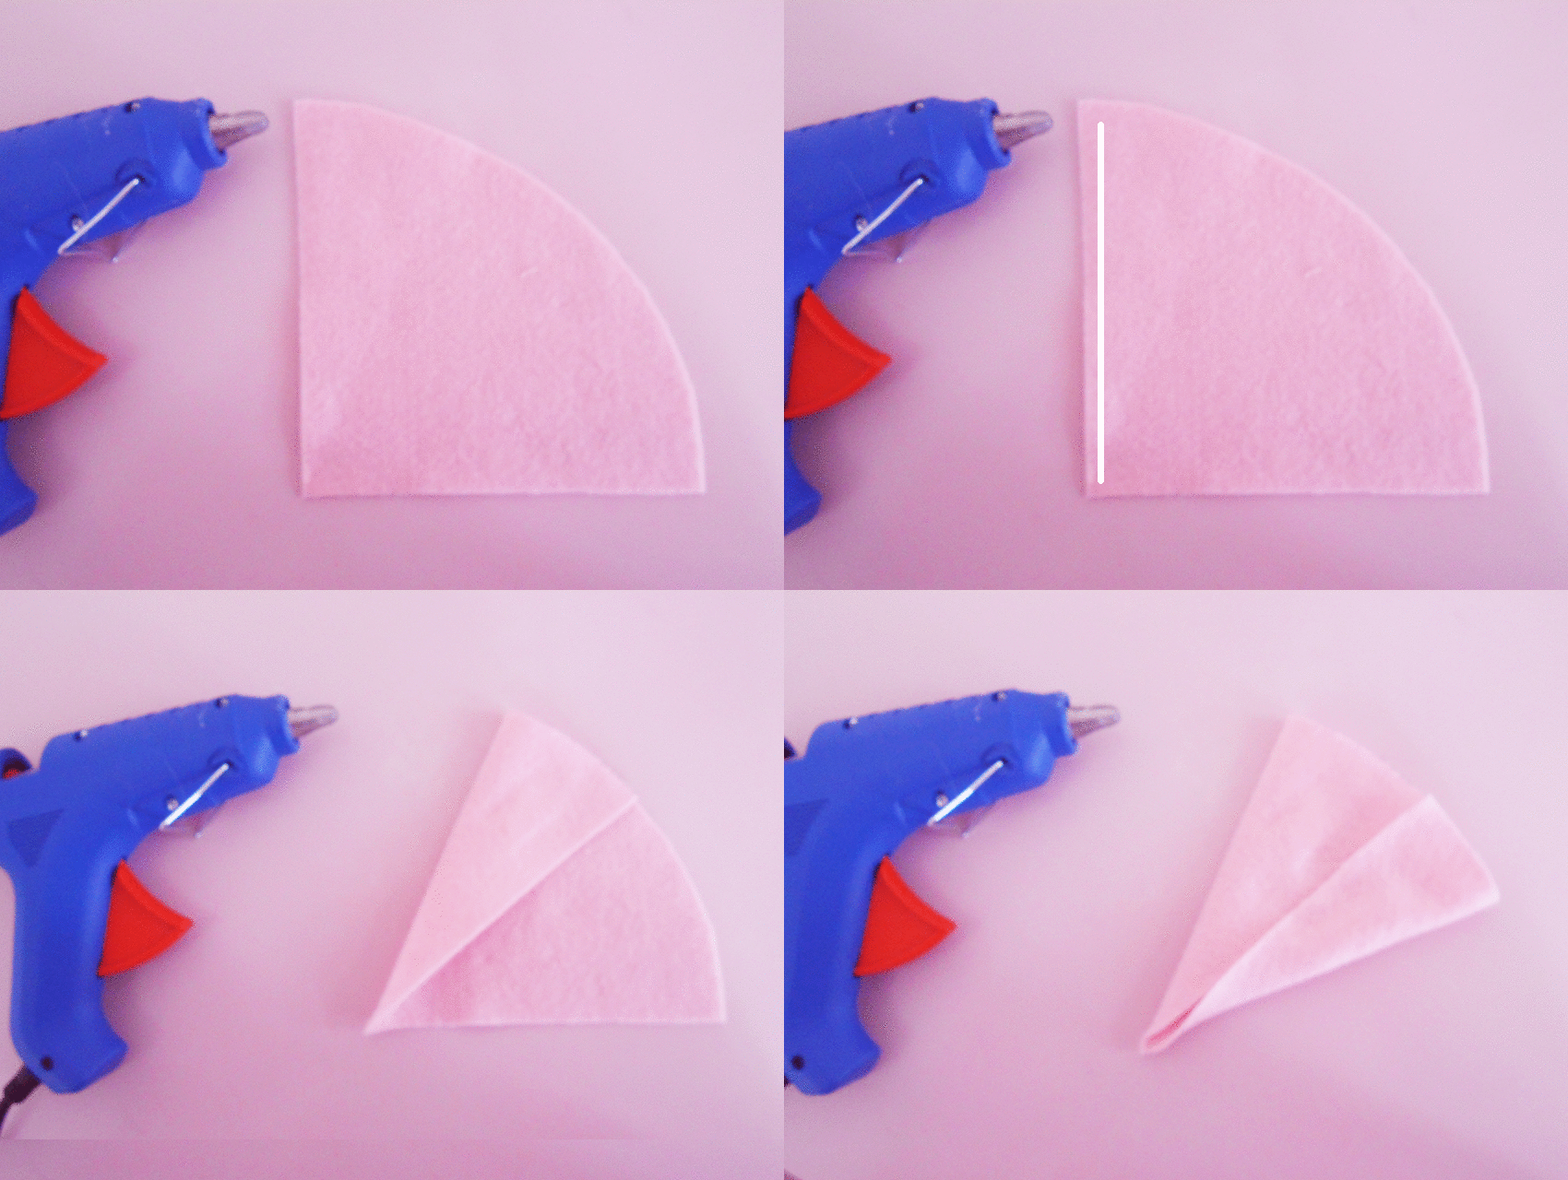
Be careful not to burn yourself on the glue gun!🐻💕

4.💘Making the hat base
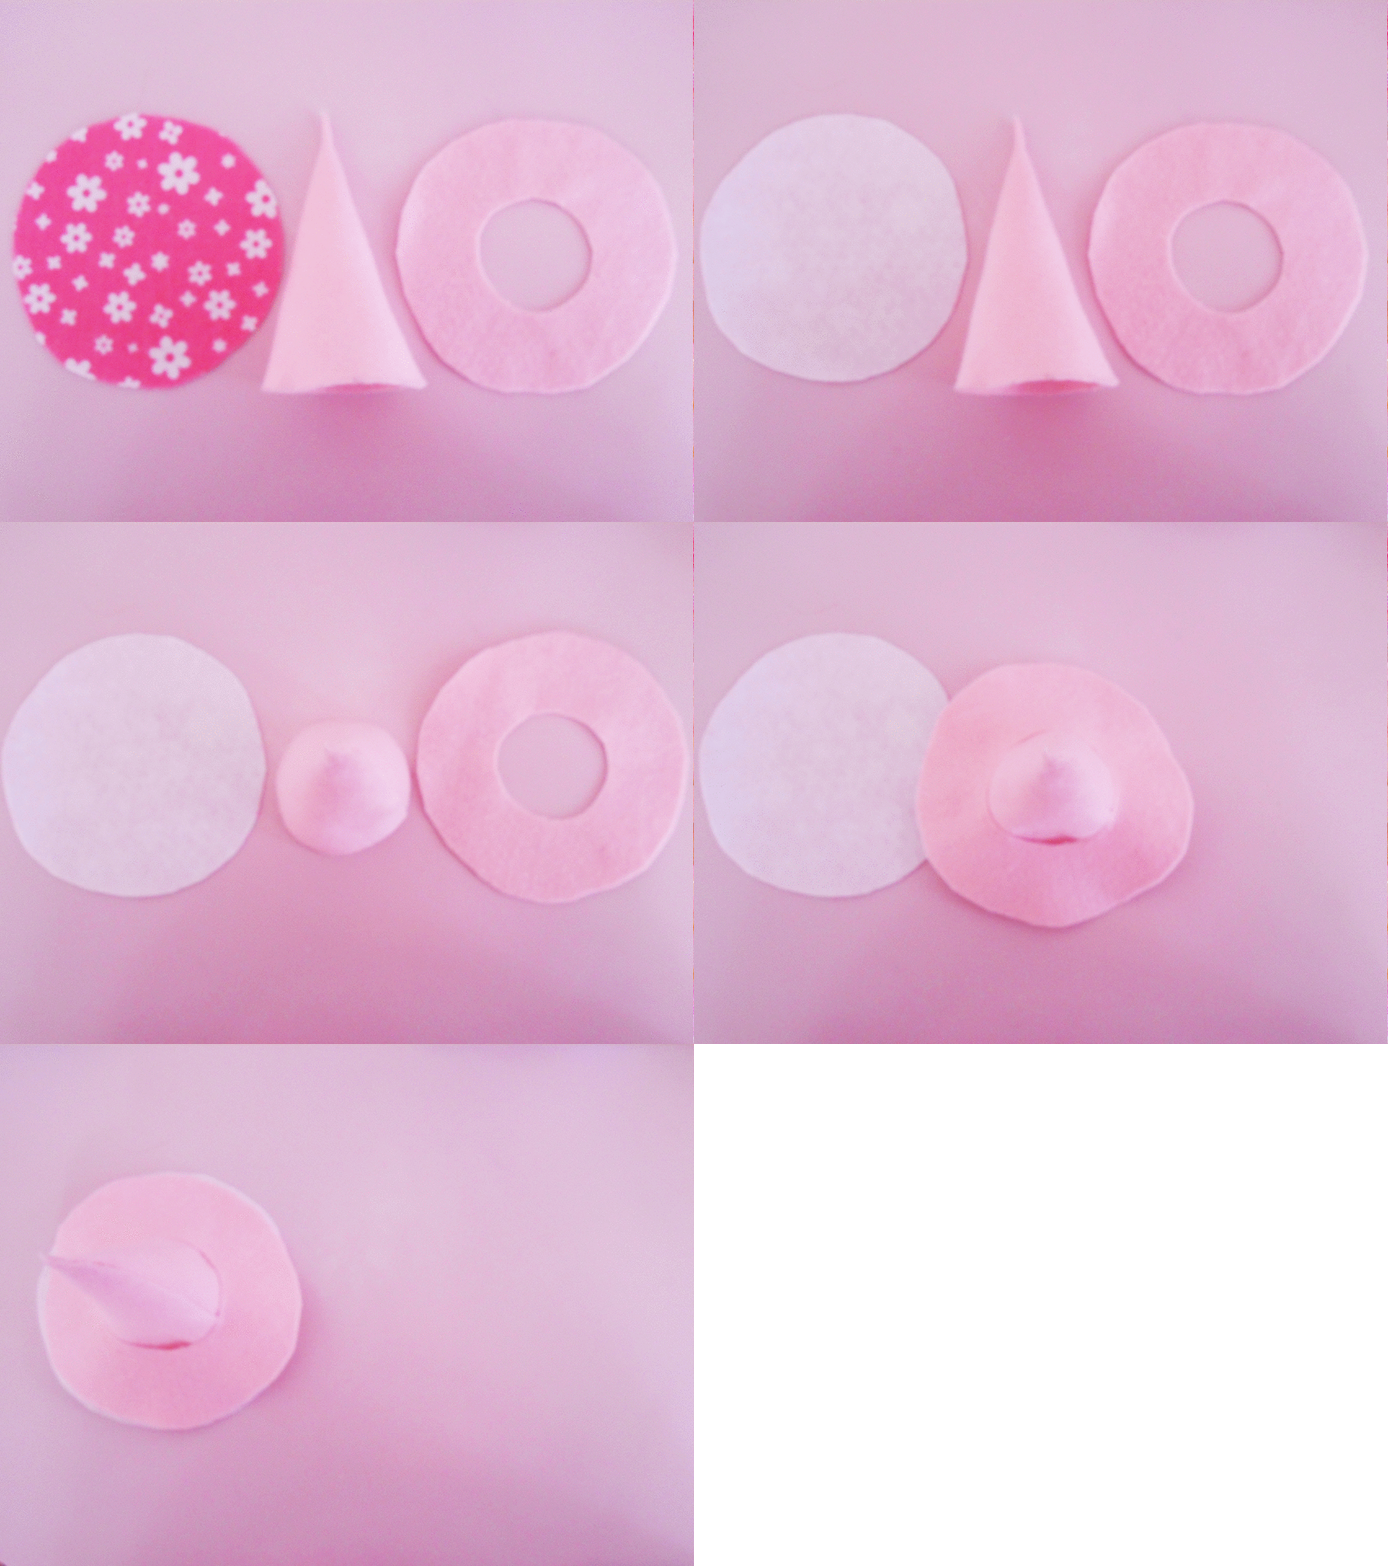
Since we’ll be filling the hat, prepare two bases – one with a hole to fill with, plus a decorative lid base.
Fit the cone slightly through hole.
If the hole is too small, you can easily make it bigger with scissors!
5.💘Gluing the parts together
Use the glue gun to join both parts.
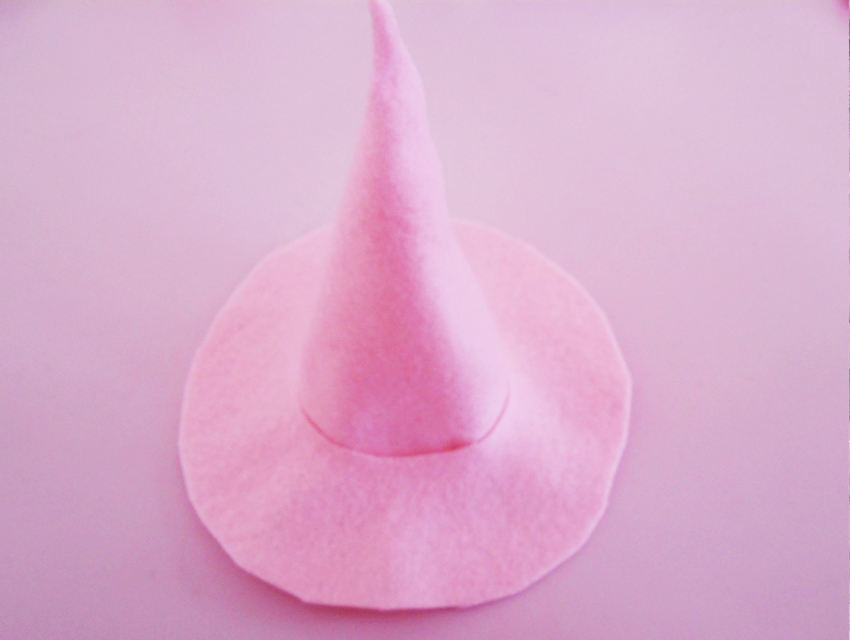
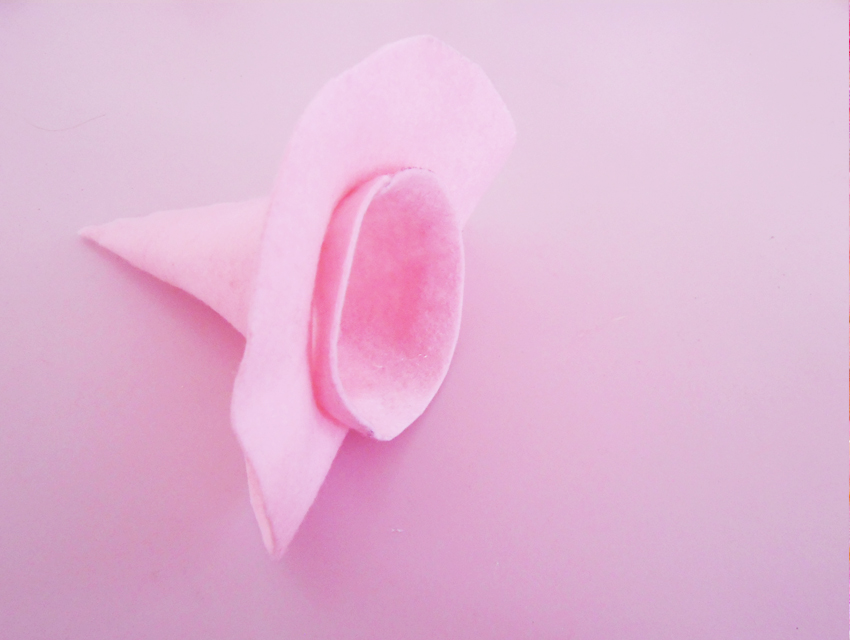
Leave a seam allowance in order to leave room to glue or sew.
The cutting depth can be 0.5~1cm, while the width can be around 1cm.
 |
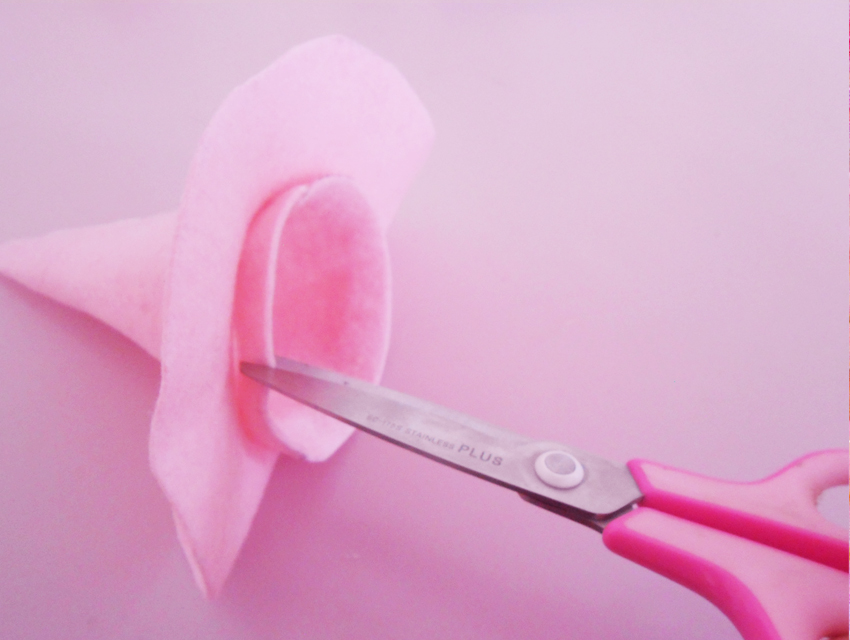 |
Using the scissors like this, you can neaten out the base.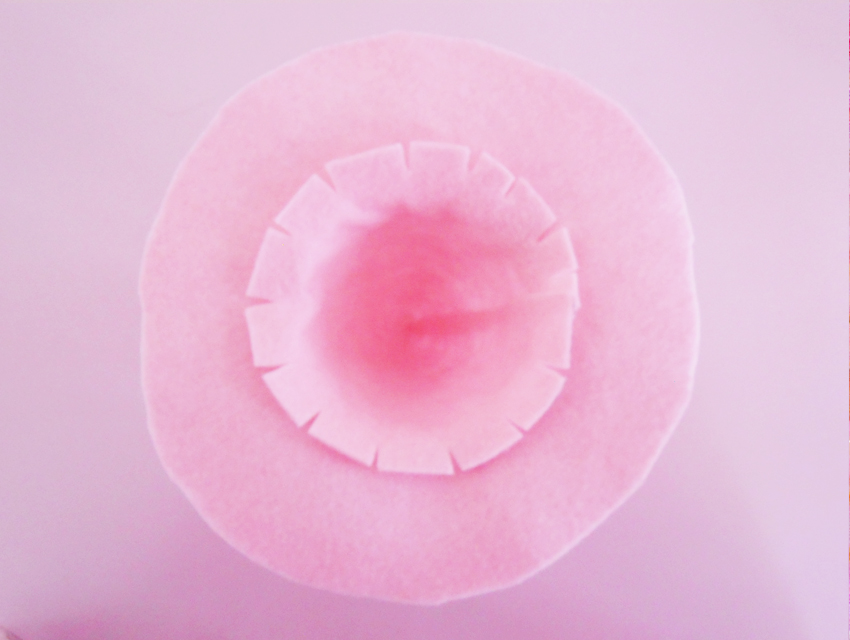
Once you’ve cut the edges, stick them to the base using the glue gun.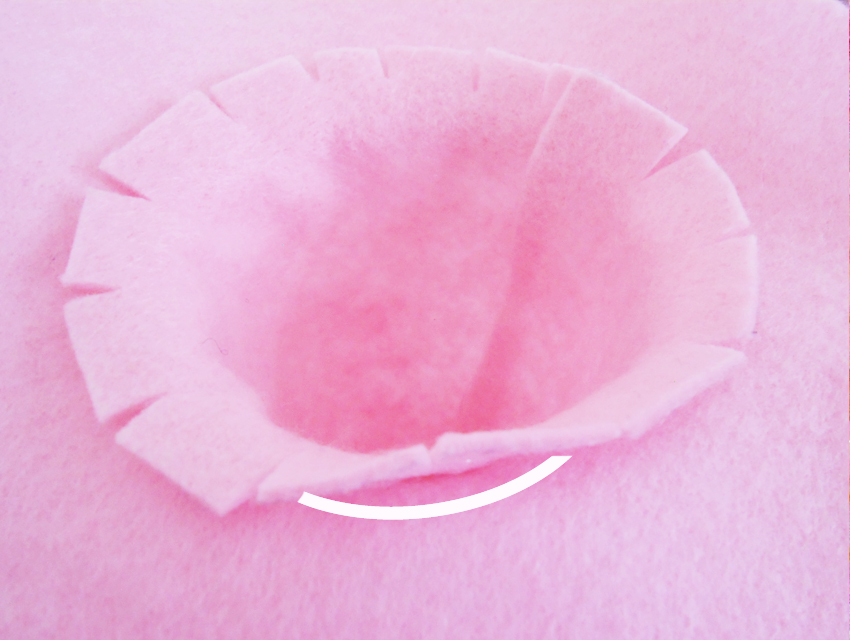
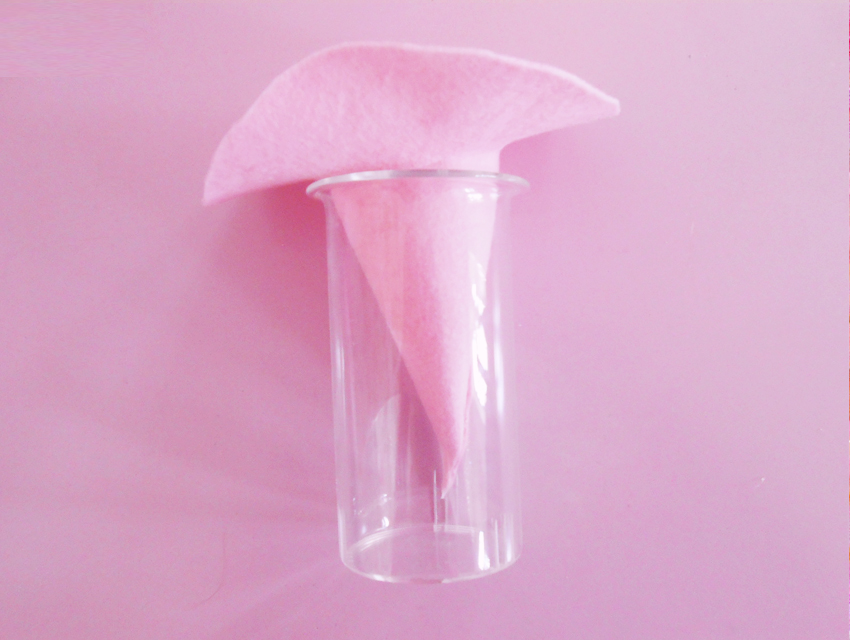
You can hold the hat up with a glass or tube for easier access to the base 🐭
スポンサードリンク
6.💘Fill the hat with cotton
Fill the cone with cotton using before covering the base.
Whilst doing this, you can insert a wire in order to pose the hat!
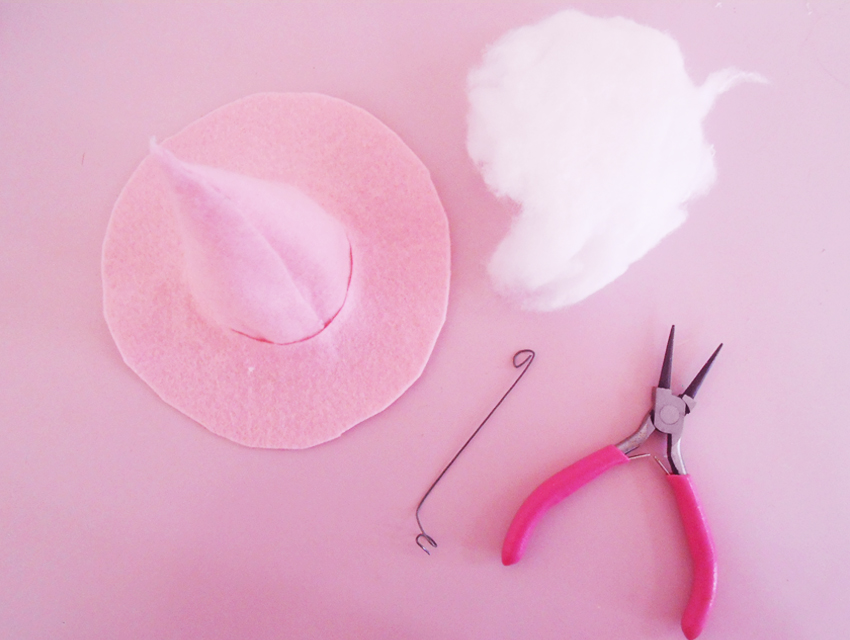
Once you’ve inserted the wire, you can use the glue gun to attach the felt base.
You can attach a clip or hairband to this piece of felt♪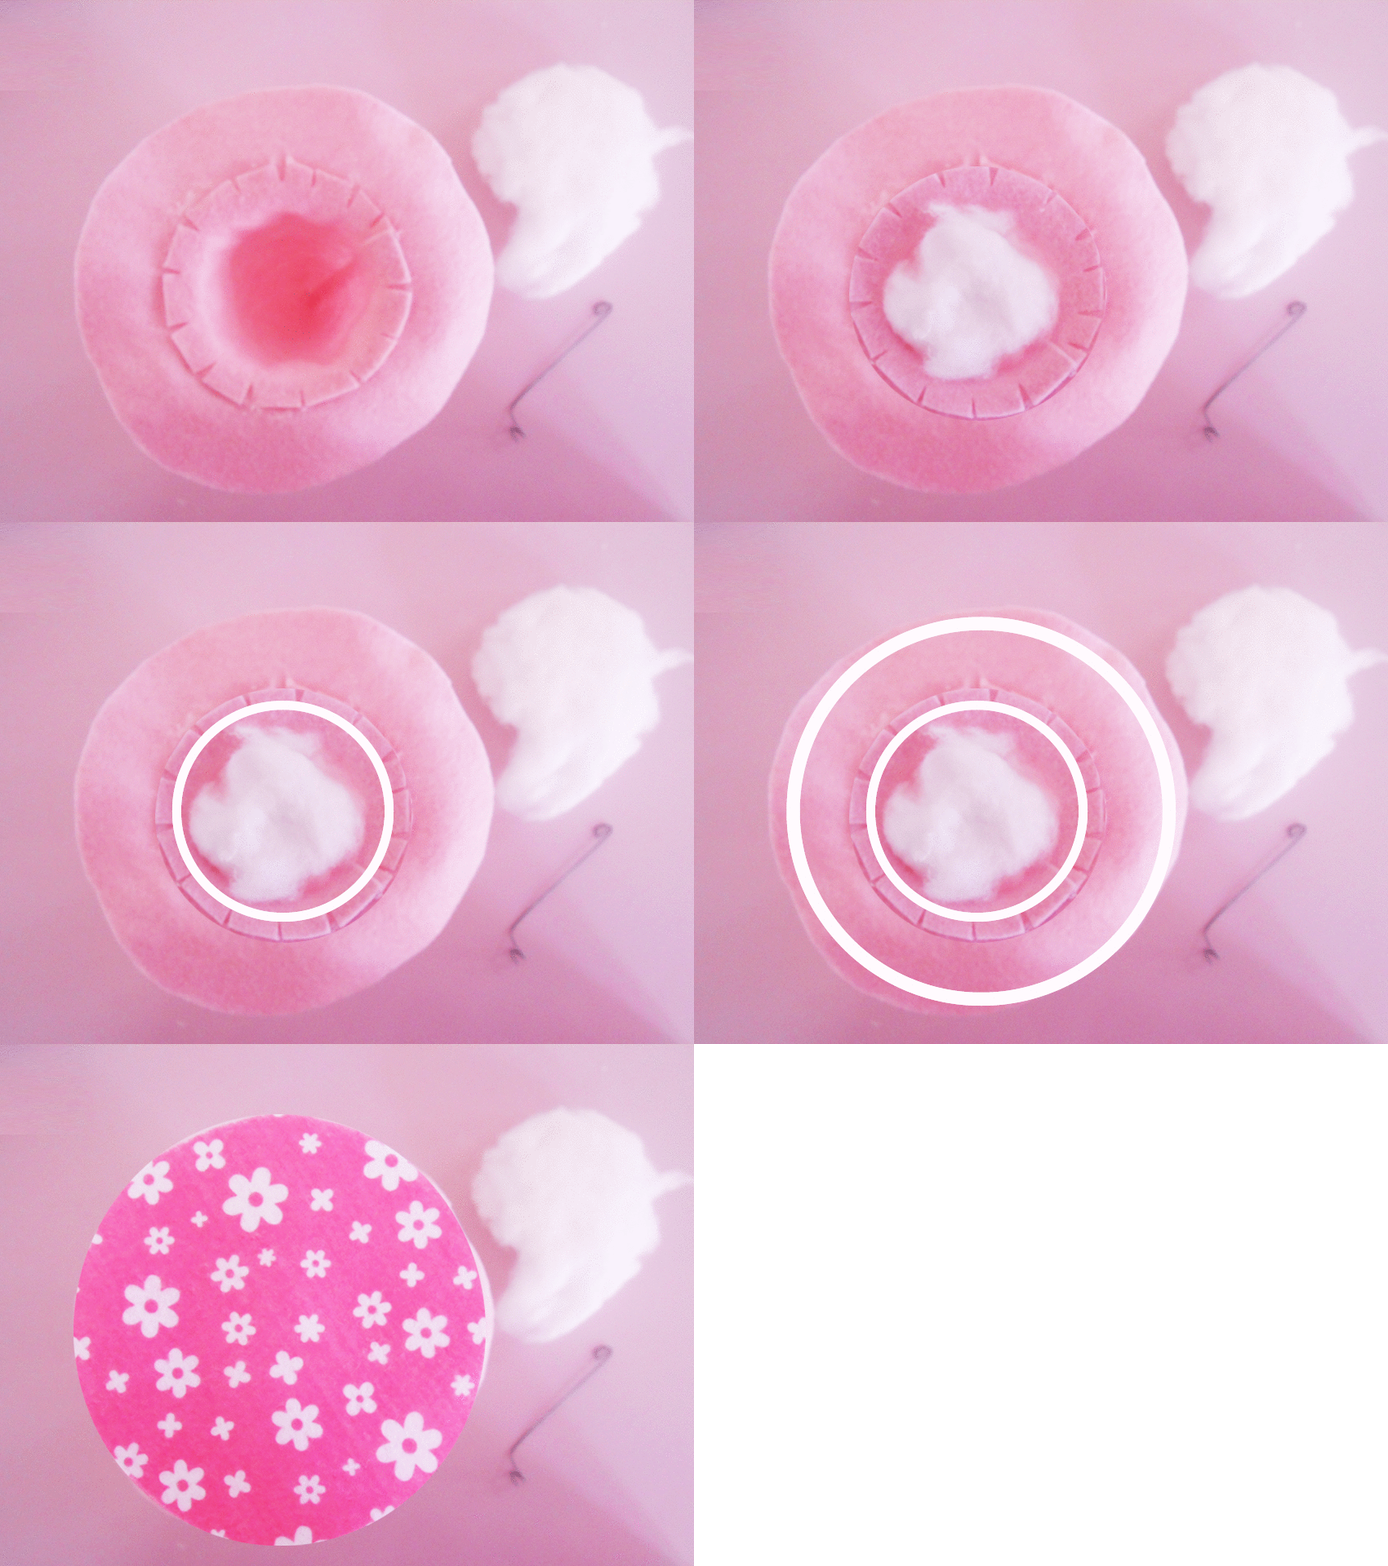
Curl the wire so it doesn’t stick out.
Wrap it in cotton using the glue gun so that it stays in the centre when worn.
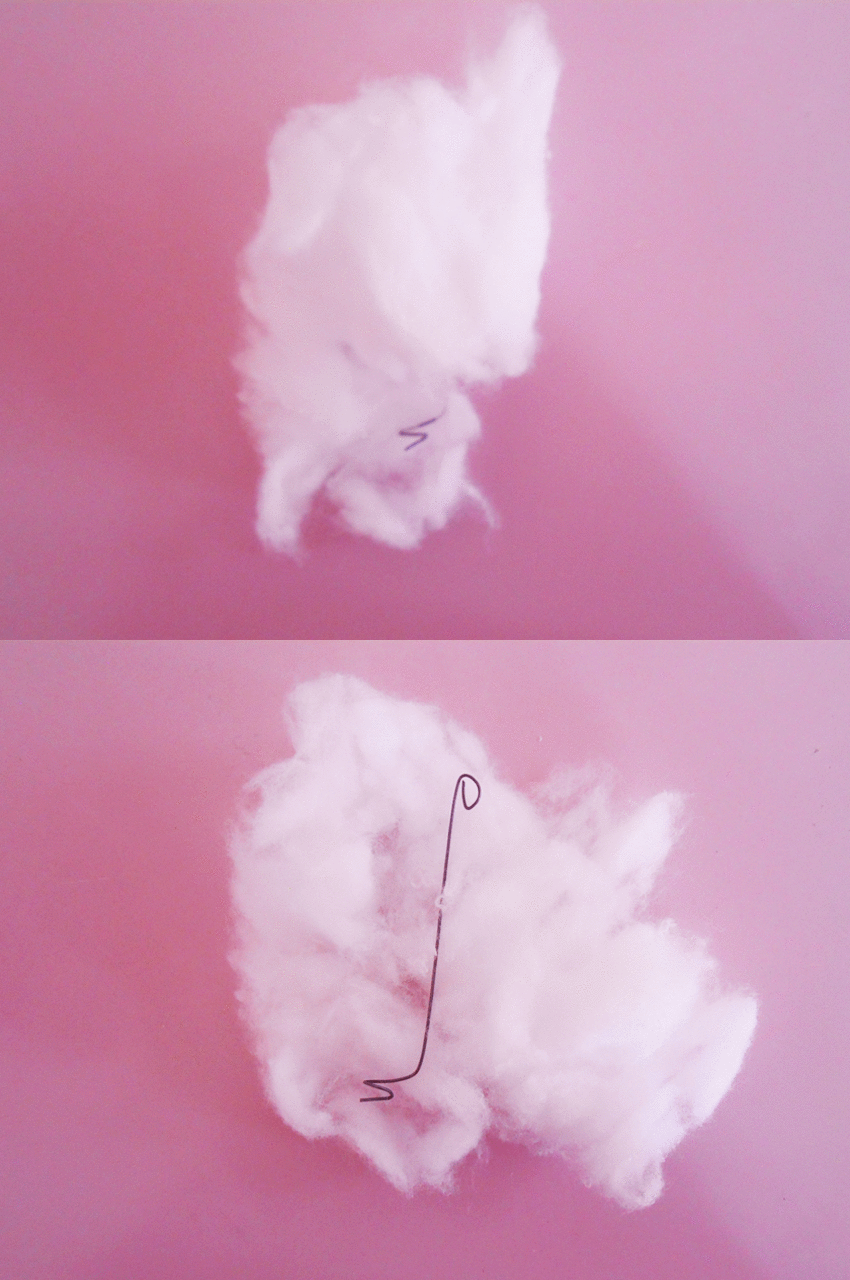
Now that the wire is inside, you can bend the tip of the hat for a witchy look! 🍬
7.💘Once you’ve decorated it, you’re done!
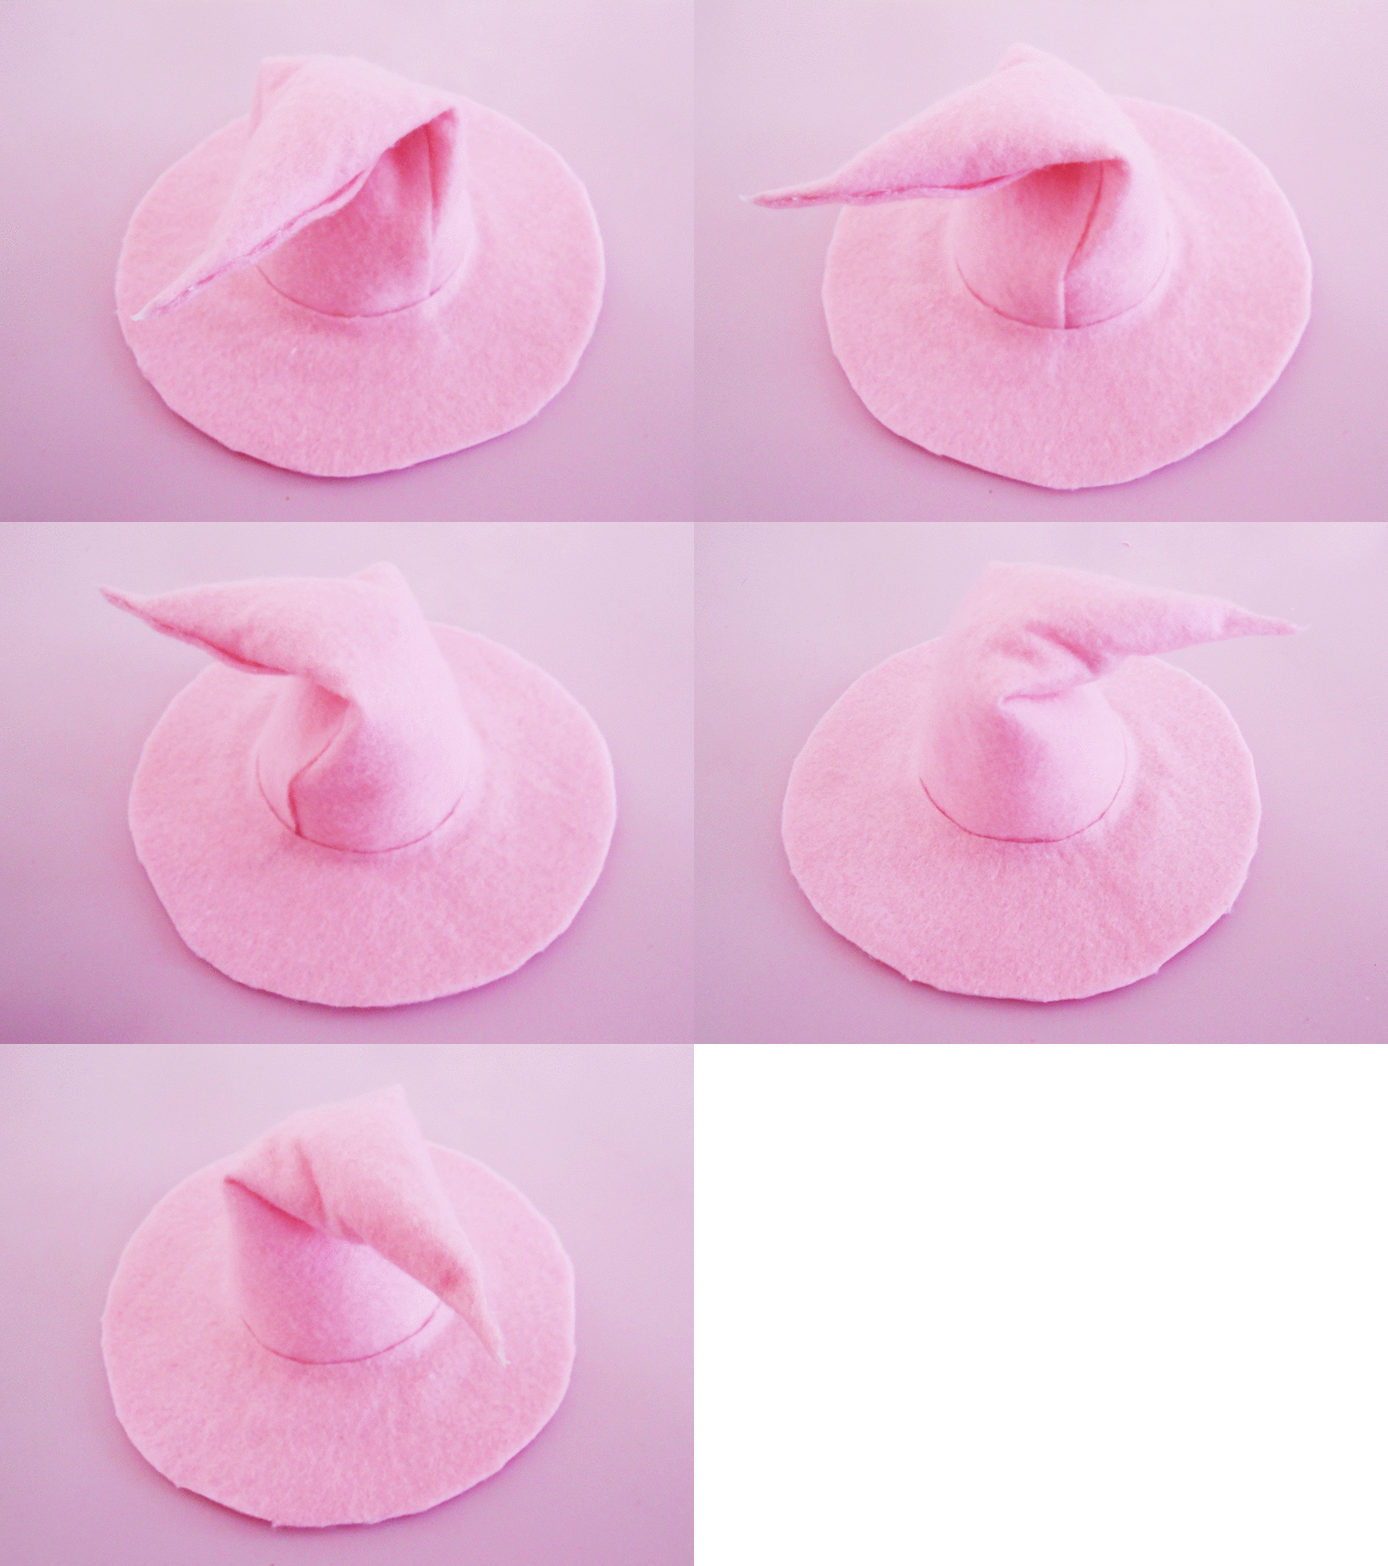

🎀Decoration Ideas🎀
Here are some decoration ideas for your kawaii witch hat!
🌸 Fairy witch hat with veil 🌸
Wrap tulle around the cone to create a veil.
For a veil, wrap the tulle slightly in half, then fold the left and right inwards slightly. From here you fold it together to create a veil.
How you fold it is up to you!
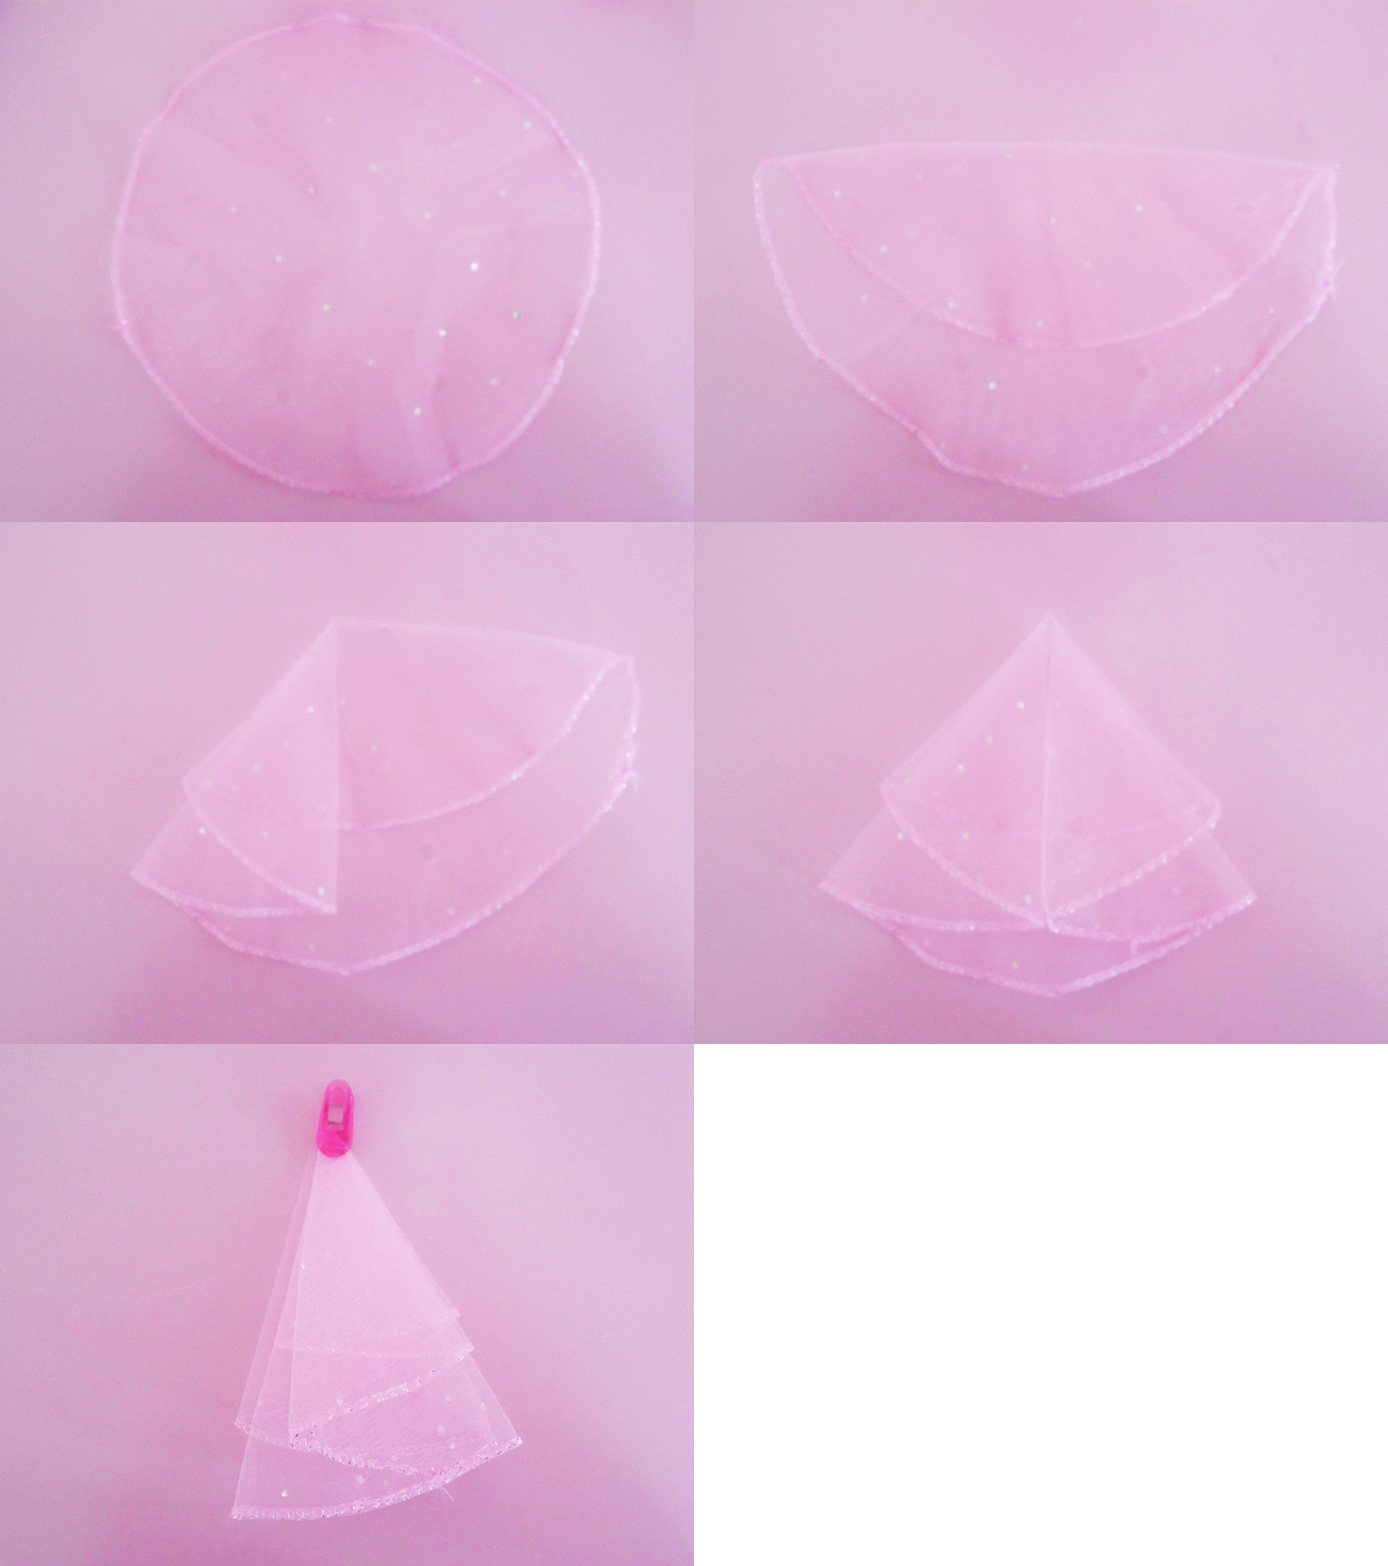
Stitch the veil onto the tip.
You can add decorations such as a star or tiara to the top using the glue gun!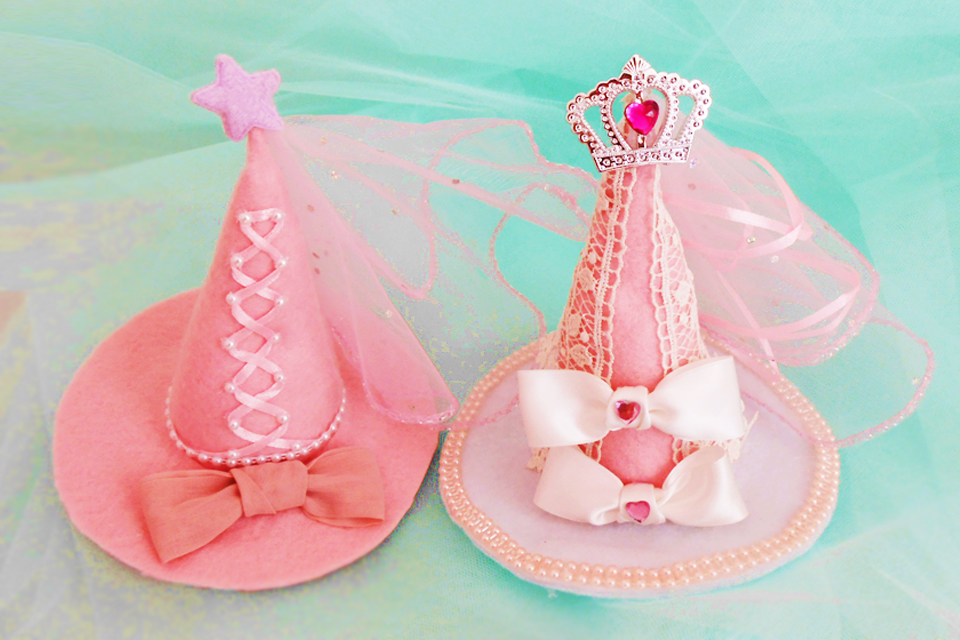
🌸Braided Ribbon Witch Hat🌸
Glue a thin ribbon to the hat, using a needle to move the ribbon into place.
Use the glue gun to attach it to the cone!

🌸Princess Tiara Witch Hat🌸
This witch hat looks like a princesses crown with a heart gem and ribbon 🎀

Glue the lace on vertically. 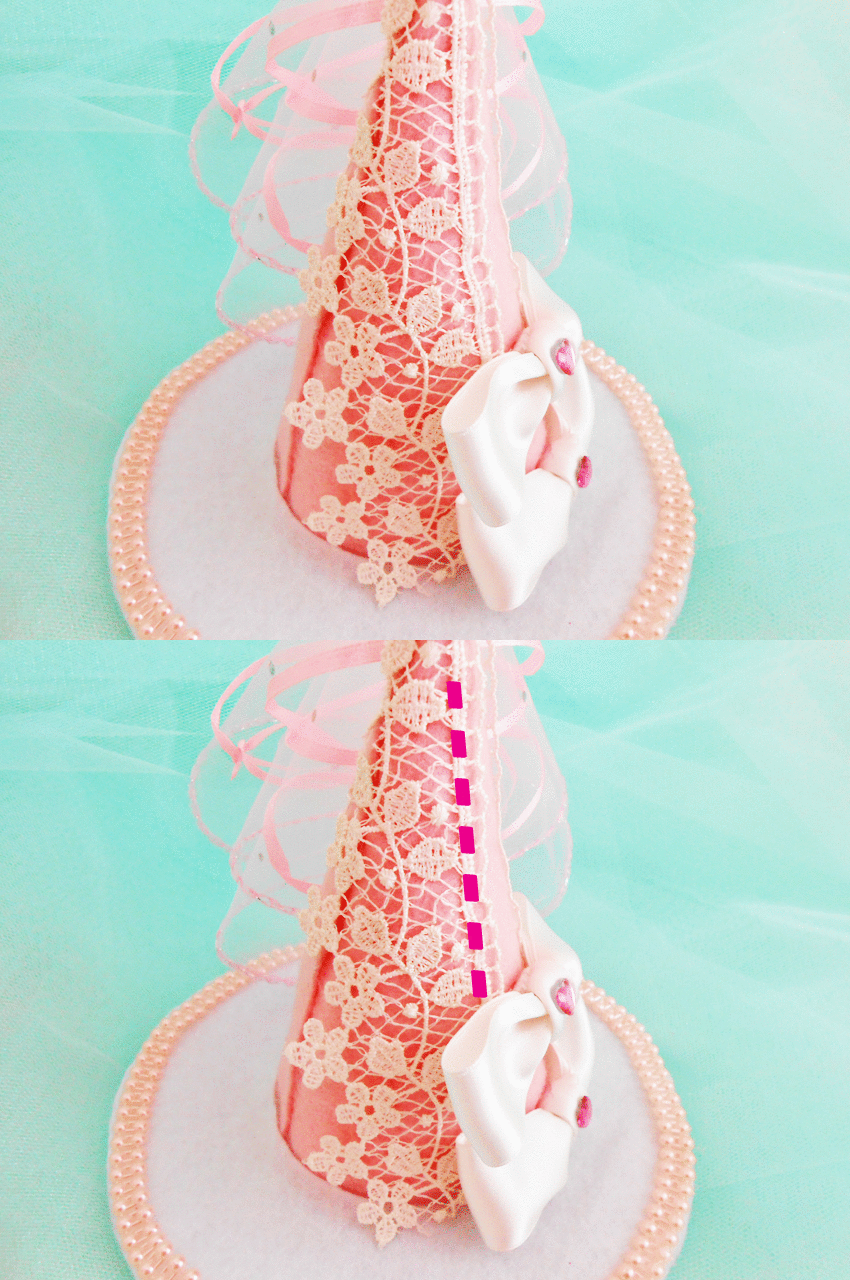
Try making your own original kawaii witch hat! It’s so fun~😻
Learn how to make cute ribbons here▽


